I recently upgraded my old Creality K1 for a K2 with a CMS. One of the things that concerned me was that there are warnings about using TPU on the K2. I read several articles online saying that you have to modify the extruder because it pressed too hard on the TPU, you have to open the lid and mount the spool above the machine to feed directly into the extruder, you have to go to steps to avoid the TPU sticking too firmly to the textured PEI build plate and destroying it. Turns out it was a lot easier than I expected.
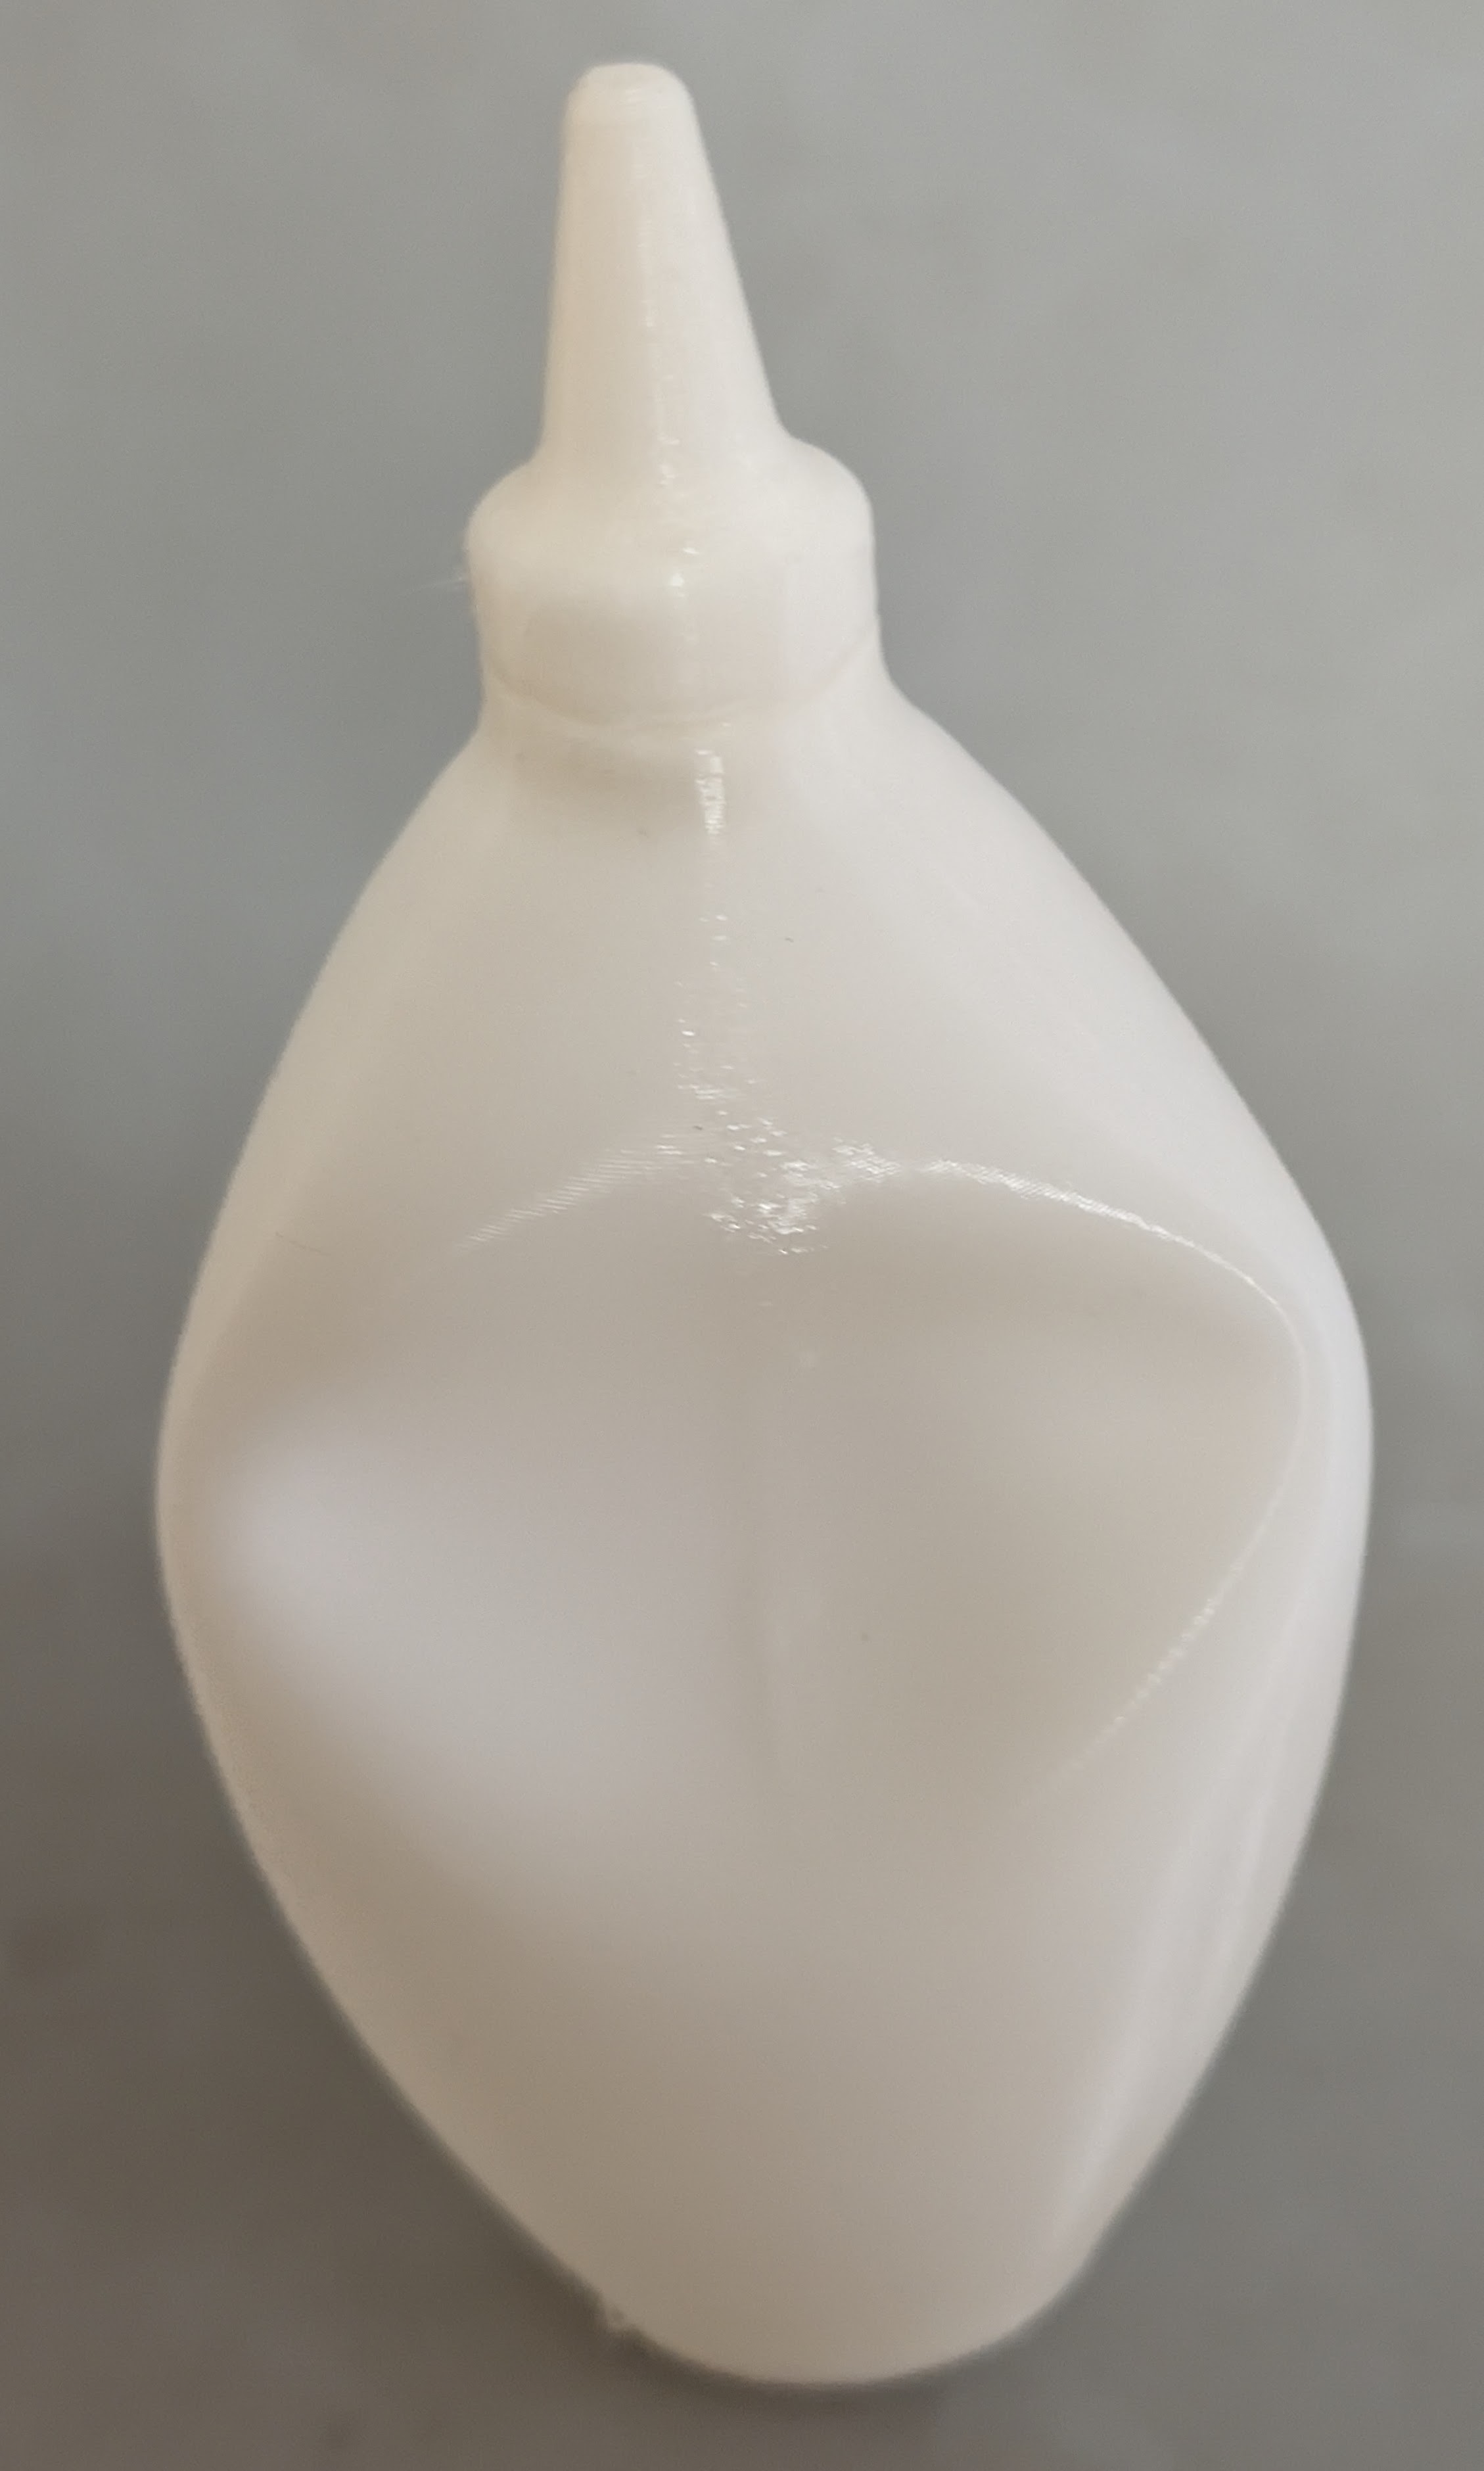
It turns out it was quite easy. I really didn’t have to do anything special. I wanted to do a test print of a squeeze bottle to insure TPU was working.
Filament
I had an old roll of 95A hardness TPU. TPU is picky about being dry, so I had desiccant in the container keeping it dry.
Routing
There’s a PTFE tube that connects the buffer to the Bowden connector on the back of the printer. I disconnected that tube from the printer side. There is also a Bowden connector on the external spool holder, so I placed a short PTFE tube between the external spool holder and the Bowden connector on the back of the printer. Having the extra tube makes it easy to switch back and forth in the future.
Loading
You can’t put TPU in the CMS. Because it is flexible it gets stuck in various parts of the mechanism. You have to use the external spool holder.
You can select the external spool holder on the front panel of the printer and tell it you are using TPU. This identifies the filament and sets the correct temperatures.
At this point I pressed the load button and crossed my fingers. Sure enough it moved the print head over the chute, the filament fed into the extruder, and the previous filament was purged. It did seem to have a bit of a problem knocking the purged filament down the chute, but that was trivial to do by hand after the load completed.
Slicer
The Creality Slicer already has a configuration for TPU. When I was preparing the print I told the slicer I wanted to use the EXT spool and to use the TPU configuration. Then I pressed the print button.
The dialog box that shows up prior to printing has a field called “Filament Device”. Even though I had already told the slicer I wanted to use the external filament holder, it defaulted to CFS for the filament device. I selected external spool holder again. Then clicked start print.
Bed
I did nothing to the bed. The TPU does adhere well to the texture PEI. Normally when a print finishes and the texture PEI build plate cools, I can flex the plate and the print will pop off easily. Flexing the bed doesn’t help with TPU because it’s flexible. I grabbed my piece and pulled and it came off the bed without too much force.
Questions
Am I using enough force to damage the bed? I don’t think so. It peels off relatively easily.
What if I had a print with a large surface on the bed? TPU is really strong, but I suspect that could be a problem. Some folks recommending spraying isopropyl alcohol around the print, which causes it to cool. I will need to try that. Others recommend coating the surface with a glue stick which can be washed off with water. That’s more work, but seems like a good approach as well.
The print was really slow. I recognize that TPU requires slower printing speeds, but these values seem way too conservative. I may update the
Summary
I was overly concerned about printing TPU. It really wasn’t too difficult. TPU is a really interesting filament that has a lot of uses so I’m glad my printer can support it without too much trouble.